“How do you fit all your gear on THAT?!?” This is a question I get a lot.
Most of my friends know that I’ve been riding motorcycles since I was about 15 years old. Aside from being a joy to ride, there are many practical reasons for using a motorcycle as a means of transportation. Not the least of these is the fact that my current bike, a Honda CB500X, gets 60-70 miles per gallon. That’s THREE TIMES what I get out of my SUV!!!
According to Honda: “Our objective when developing the engine for the CB500 series was to produce a global, kind-to-the-environment parallel twin-cylinder engine that looks ahead to the next generation and, by being both sporty and easy to handle, transcends regions to appeal equally to those in both developed and emerging countries.” In other words, this bike produces plenty of power, while putting out very low emissions into the environment.
It feels good to know that I’m doing my part to save the planet. 🙂
Aside from being fun, economical and environmentally friendly, motorcycles are more maneuverable in tight traffic. While driving to photo shoots downtown with its narrow streets, it’s not uncommon to have a delivery truck stopped in the middle of the road blocking most of the traffic. Plus parking spaces are hard to find and tight to get into. Such issues are more easily managed when on a small vehicle like my CB500X, which has been affectionately named Trinity.
As an adventure-style motorcycle, Trinity has been accessorized with Givi locking panniers and top boxes made out of aircraft grade aluminum. I use ThinkTank camera bags, with excellent padding, and professional grade material, that slip perfectly into each box. This allows me to carry my valuable equipment securely and safely.
Adjusting my luggage system into any number of configurations according to the job requirements is literally a snap! The Italian-made boxes clip on or clip off with the turn of a key. Sometimes I just need a top box with a single camera bag that holds 2 bodies, 4 lenses, and a couple of flashes. Switching to two panniers works better if I need a little more lighting gear. For really complex assignments, I can mount all three boxes.
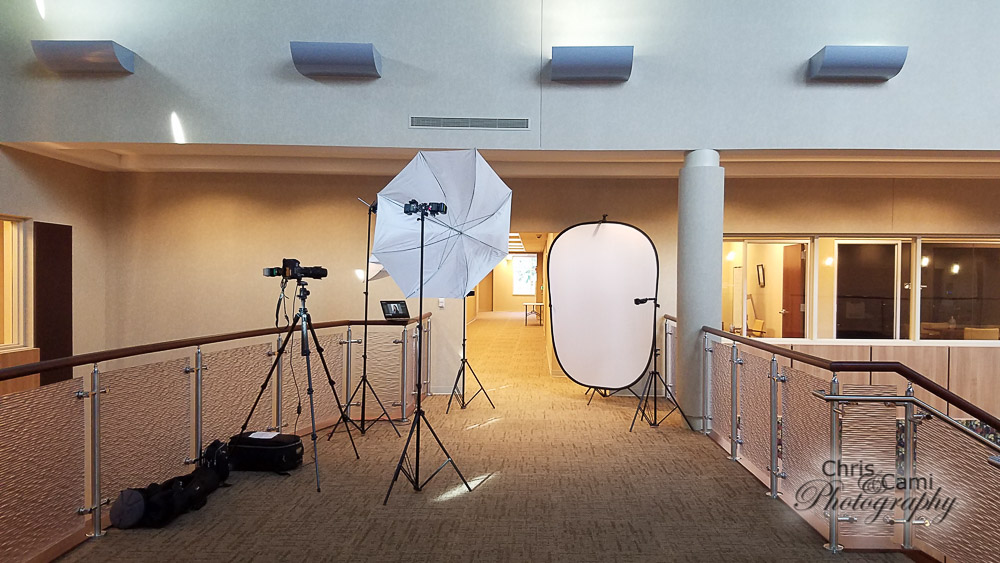
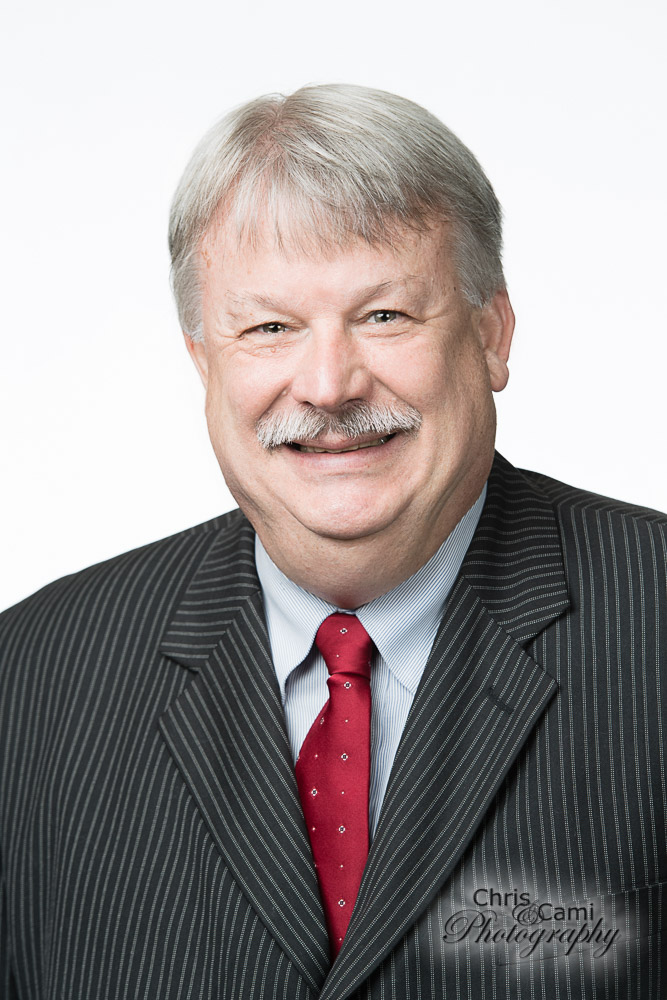
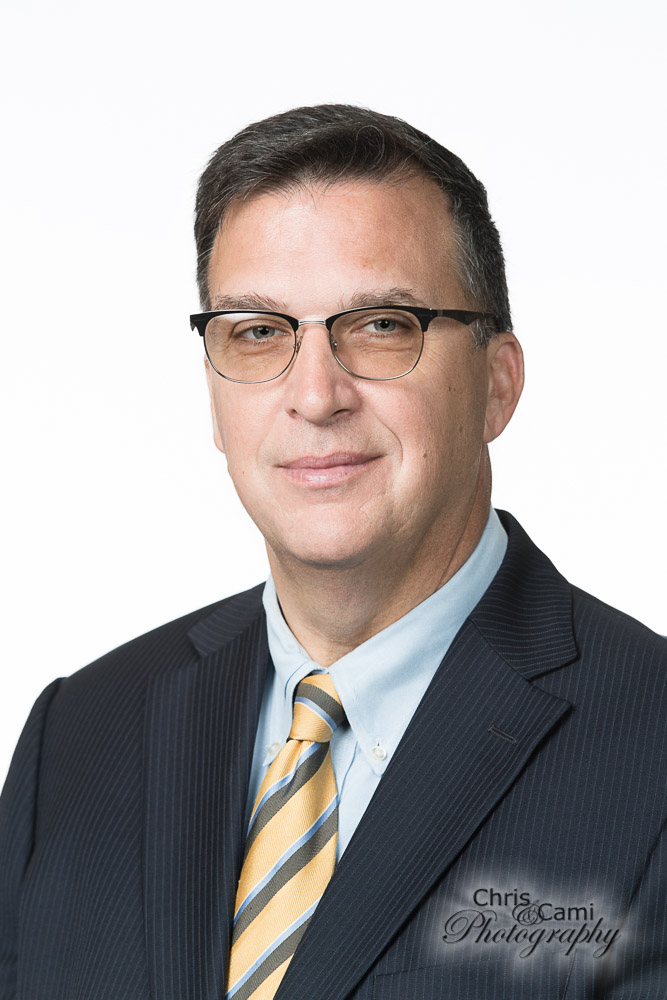
In this assignment at the Center for Birds of Prey, I was photographing head-shots of the staff using the natural wooded environment of their beautiful facility in Awendaw. For the first day of photography, I took my SUV. For the follow-up date, I took Trinity (see picture below). One pannier carried a Nikon D5, Nikon D500, Nikkor 24-70 f2.8, Nikkor 70-200 VRII, Nikkor 300mm PF, and 2 SB-500 flashes. The other pannier held 2 SB-800 flashes, a MeFoto carbon fiber tripod, a 24″ softbox, 2 sand bags, and various other accessories. A 48″ softbox and 2 9-ft Manfrotto light-stands were strapped to the top plate where the top box would normally be.
I didn’t use all the gear I brought, of course. But I like to be over-repared! I ended up using the Nikon D5, the 70-200, and both SB-5000 flashes. One flash was fired through the 48″ softbox on a light-stand to my right. The other was given a 1/2 CTO gel and placed on a stand behind the subject to my left as a warm rim light or kicker light.
I truly love working with the Center for Birds of Prey! They are a wonderful organization, staffed by people of integrity, who are doing good work for our planet and the beautiful creatures we share it with! I HIGHLY recommend visiting their world class facility just 30 minutes from Charleston. It’s a great place to take a date, bring the family, or enjoy a peaceful outing on your own. Learn something new on the walking tour, be fascinated by the huge variety of species on display, marvel at the aerial acrobatics during the flight demonstration, and enjoy the great outdoors. You won’t regret it!!!